Before, my impression of Information and Communication Technology class was just coding, now I know that it is not just coding but it’s actually building things using your critical thinking.
——Y5C Lynn
As technology becomes an ever more prominent part of the classroom and workplace, the development of technological proficiency has become an increasingly essential skill for students to develop. At YK Pao School this is recognised and, as such, students take Information and Communication Technology (ICT) classes from the very beginning of their learning journey.
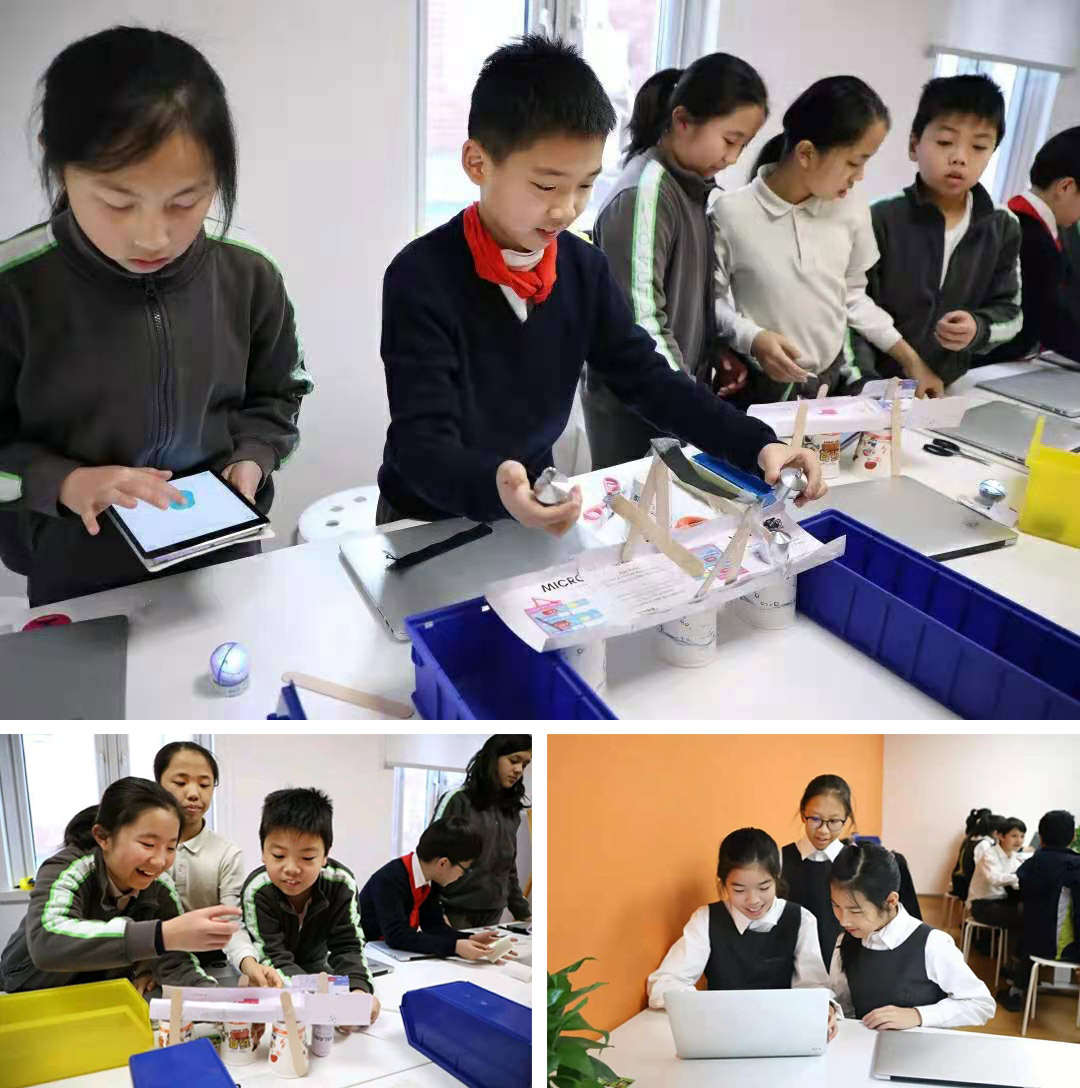
The Primary School ICT curriculum builds and develops on the Shanghai curriculum, focusing on six key areas: computer programming, design, augmenting and virtual reality, applications for learning, robotics and digital citizenship. Wilson Scott, ICT teacher at Wuding, also explains how these units have also been developed to link to the students Exploratory Units studies, drawing in the student’s previously studied scientific knowledge and encouraging them to apply it to real-world problems.
Recently, Pao School’s Year 5s were asked to solve a one of these real-world problems as part of a three-class project. Over the past semester, the students have been learning about how to follow the five stages of design thinking, which is a process used by professionals worldwide to face complex problems. The method is flexible – promoting creativity, innovation and problem solving – and involves five stages: Empathize, Define, Ideate, Prototype and Test. This process is a core part of the students’ learning and will be used for different projects throughout their time in Year 5. This not only promotes the development of traditional IT skills such as typing and coding, but also provides an understanding of problem-solving theory.
Design thinking therefore helps students develop not only their technical abilities, but also helps prepare them for the challenges they may face later in life through the development of transferrable skills, “I want to put students in the situation of a professional and help them understand how to use the design thinking steps and not rush through different stages, whilst having the opportunity to go back and make improvements.” Says Wilson.
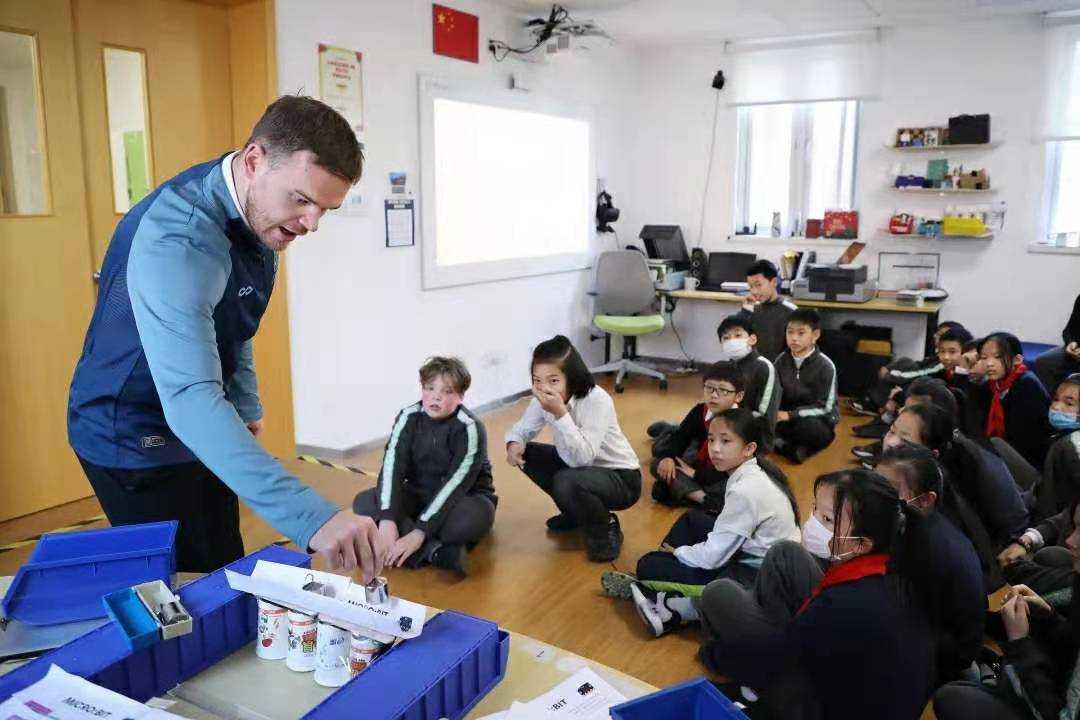
For the bridge building project, the students were asked to use materials such as paper cups and lollipop sticks to construct a 30cm bridge. Working in small teams of two to three students, the students went on to research, design and prototype their own bridges, which they then tested and evaluated by driving a robot over a prototype of their design. The project was assessed by the strength of the student’s evaluation skills, which is a key part of the ICT curriculum and a core soft skill they will need for the future.
1. Empathise
Before the students started designing their bridge, they needed to complete two important stages – ‘Empathise’ and ‘Define’. For the first ‘Empathise’ stage, the students watched a video of students crossing a broken bridge, which was suspended over a dangerous river, on their journey to school. The groups then used an online platform to write some notes, discussing the situation and how the children in the video may feel.
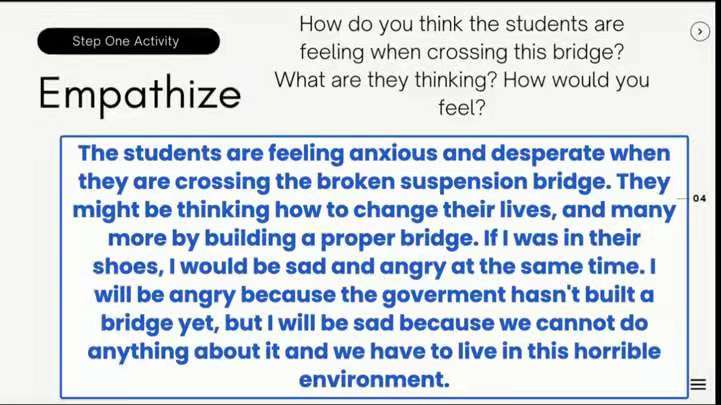
Step One: Empathise – The students watched a video about children crossing a dangerous bridge and answered questions empathizing about the children’s feelings.
The ‘Empathise’ stage helps the students contextualise the problem they must solve, says Wilson, “It is probably the most interesting step of the process because it helps the students imagine themselves as the user or the audience. It gives them a sense of purpose around the activity and intrinsically motivates them, as they feel as though they are working towards something important, something that can benefit people.”
2. Define
The next step is to ‘Define’ the problem and consider what important things they need to think about as they create a solution. In a previous activity, students had created a robot-pulled chariot. However, some failed as the chariot was too heavy or produced too much friction and could not move. This stage helps the developer create a checklist of what they need to consider, such as measurements and safety requirements, to prevent such problems and help them see how they can successfully reach their goal.
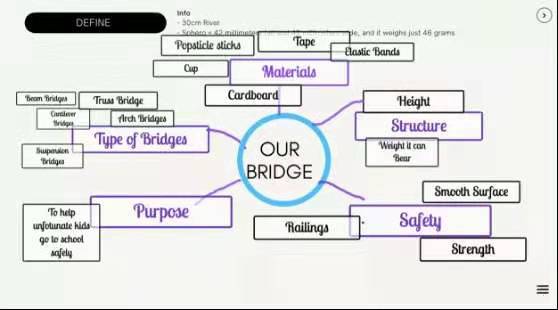
Step Two: Define – The students made a mind map describing the different aspects they need to consider before they started designing the bridge, i.e. What is the bridge’s purpose? What materials should I use?
3. Ideate
During the 'Ideate' stage, the students conducted research into the challenge and began to sketch out their designs – allowing them to explore different ideas, communicate with one another and start selecting the best solutions to their problem.
As they developed their knowledge of bridges, the groups used an online platform to compile background information. The activity allowed them to develop their research skills and knowledge of how to use different online resources appropriately.
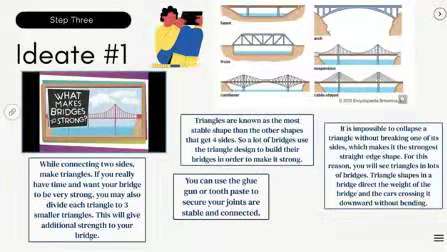
Step Three: Ideate – The students firstly used the internet to research bridges. They collected text, images, weblinks and videos, which provided the background information they needed before starting to design.
Once the students had completed their research, they then sketched their bridge designs. They were given materials such as paper cups, lollipop sticks, paper and sticky tape, and had to visualise how to transform these materials into a weight-bearing structure. As they drew out their ideas, they added annotations with the dimensions and materials they planned to use, which allowed them to understand how they would bring their ideas into fruition.
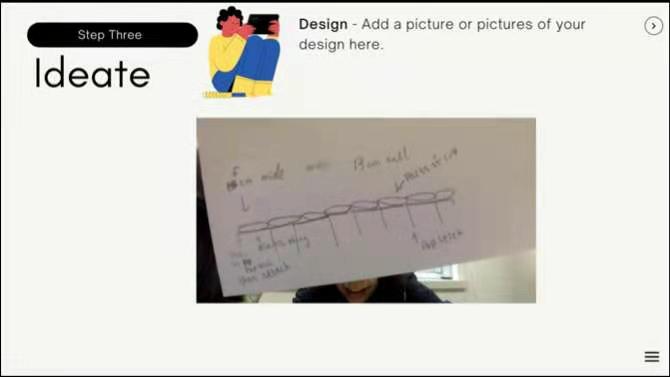
Step Three: Ideate – The students began to draw their bridge designs, including what materials they will use and the bridge’s measurements.
4. Prototype
After the students have finished ‘Ideating’, they needed to put their design into action and start building a prototype. Often their design changed as they went along; with the students returning to the ‘Ideate’ stage as they learnt more about the materials and process of putting them together. The designs also changed as the students informally tested their bridges and fixed the various small problems they found.
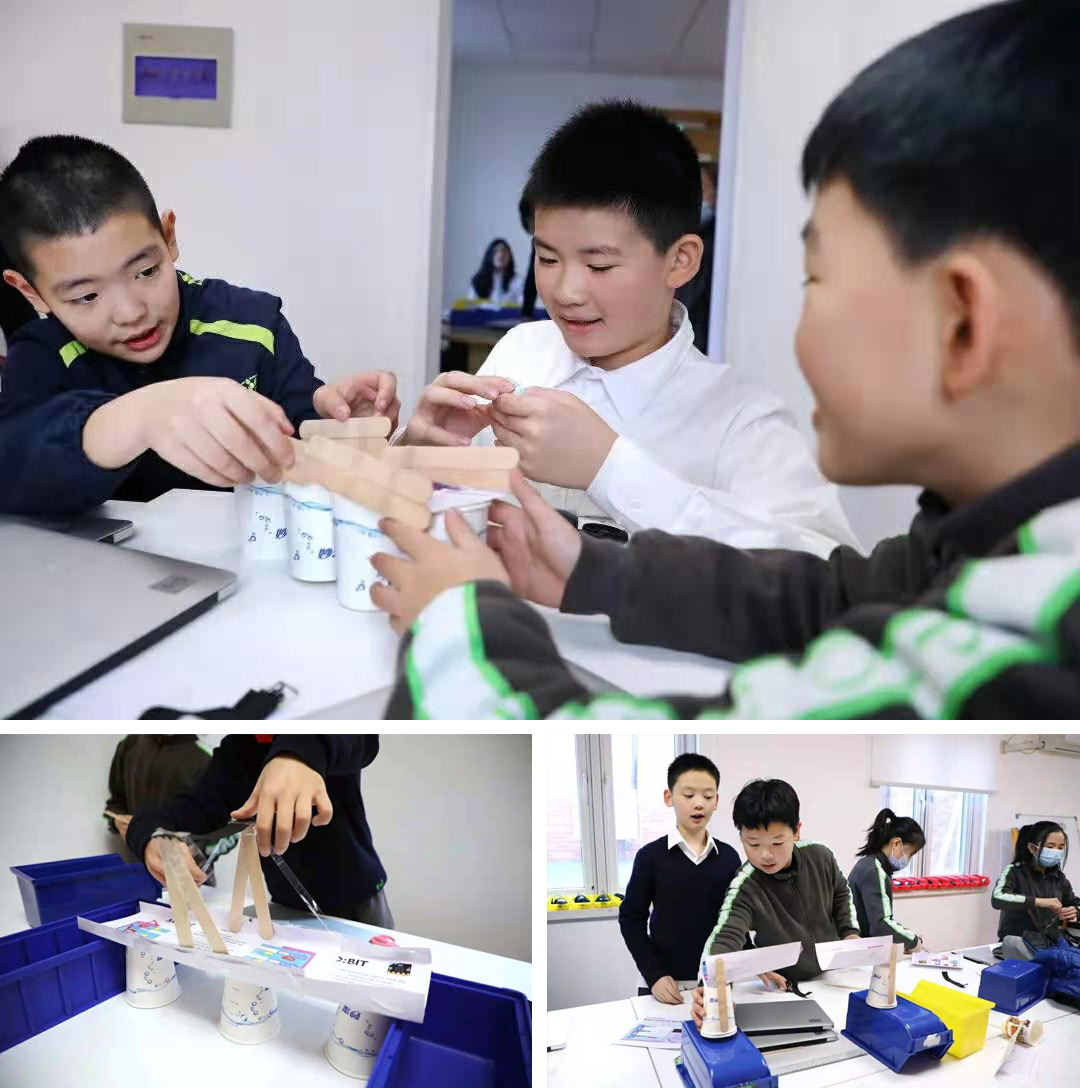
Step Four: Prototype - The students used materials such as paper, paper cups, sticky tape and lollipop sticks to build prototypes of their bridges.
Y5C Lawrence – whose team made a truss-style bridge – explains that this step is important, and that the ‘Prototyping’ and ‘Testing’ stages were his favourite part of the project. These stages allowed the students to see problems with their designs, that they may not have considered previously, “At first we did a lot of other things – non-important things – that weighed the bridge down and made it weaker. Next time, I would tear the extra things that were too much down.”
5. Test
Lastly, the students started the ‘Test’ stage, where they used a robot to see if the bridge could successfully bear weight. They firstly used an iPad to instruct a robot to cross the bridge and then used metal weights to test the structure.
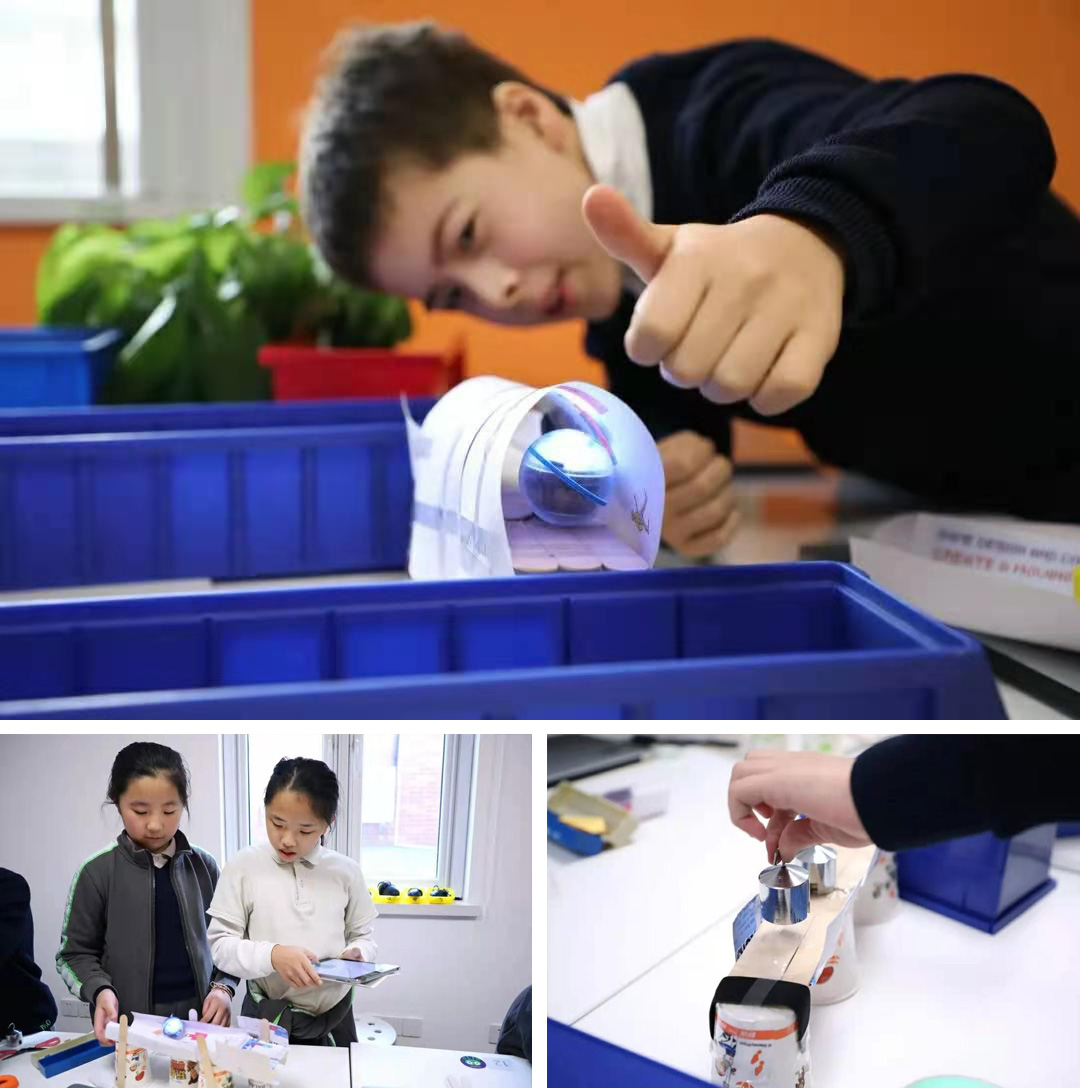
Step Five: Test - The students drove robots across their bridges to see if the bridge can be passed and used weights to test how much weight the bridge could hold.
After the tests were complete, the students used an online platform to reflect on the design process and success of the bridge. They completed evaluation sheets, giving themselves ratings, alongside considering the improvements that they could make next time. Wilson explains that it is essential for the students to have the ability to evaluate, improve and test their ideas and creations, as these are transferrable skills they can apply to any project in the future.
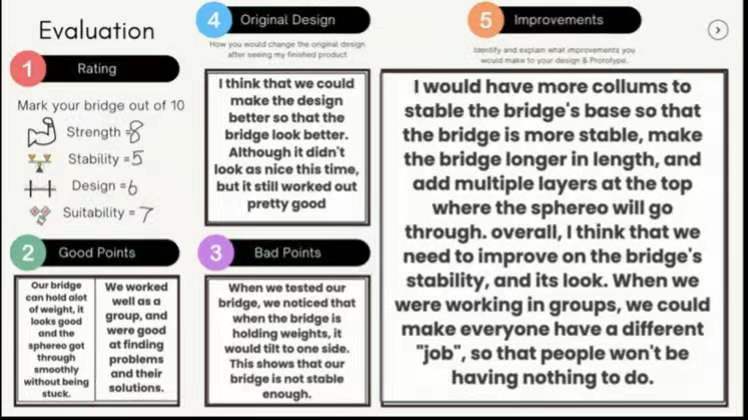
Step Five: Test – The students evaluated their bridges on strength, stability, design and suitability. They also reflected on the good and bad aspects of their design; alongside the improvements they would make in the future.
Preparing students for the 21st Century
Today, we are teaching in Year 3 what we might have taught in Year 5 four years ago. Because the students pick it up so quickly and they’re becoming a lot more technologically savvy, we can push the students further – but it always has to evolve around the student’s ability.
--- Wilson Scott
Wilson explains that due to modern technological developments there has been a massive leap forward in what he teaches in class. The subject is moving away from just being on-screen work, evolving to become increasingly hands-on. Part of this has been possible due to the school’s redevelopment of the ICT classroom into a makerspace. Wilson explains that this change has broadened what he can achieve in class and has provided more flexibility, “With the makerspace and focus on more STEM-related activities, there is now a mixture of computer programming, robotics and design. We can see the work in real life. It’s hands-on, we build it, we test it, then we keep repeating this process.”
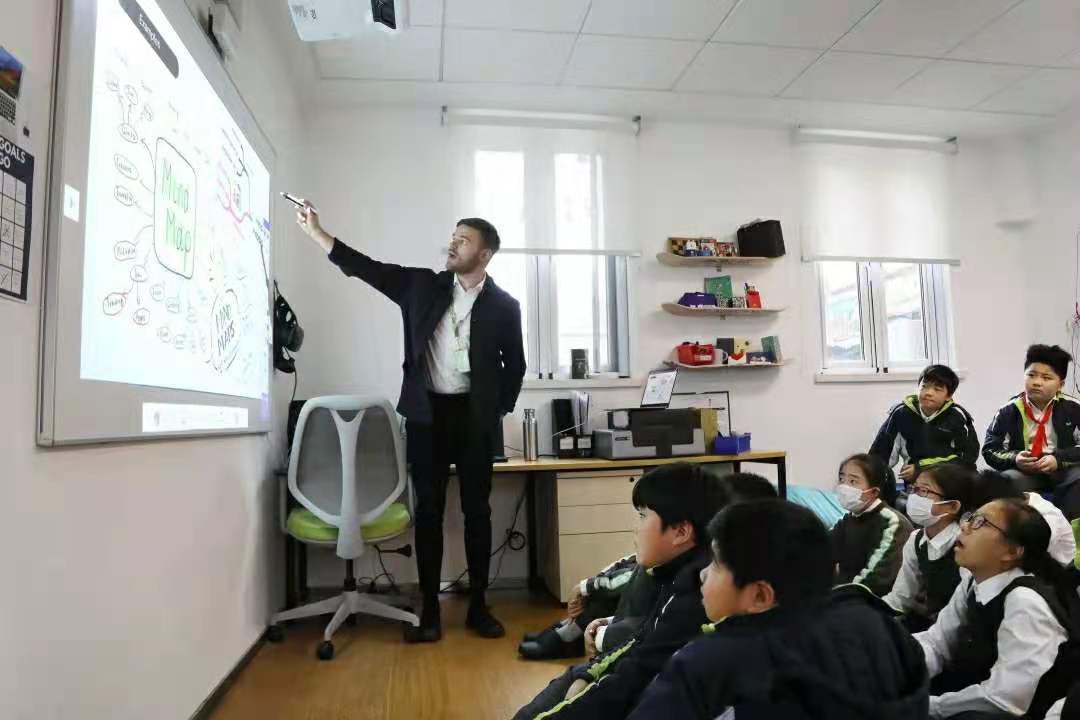
A key focus of the bridge project was to develop the student’s communication and collaborative skills. To slowly introduce these skills to the students, in earlier years they were eased into pair work and then, as they get older, focused on group work in Year 5. Before they started with their bridges, the teacher assigned different roles to the students – scribes and researchers – with the researchers unable to write, which compelled them to communicate their findings to the scribe in their team and to work together.
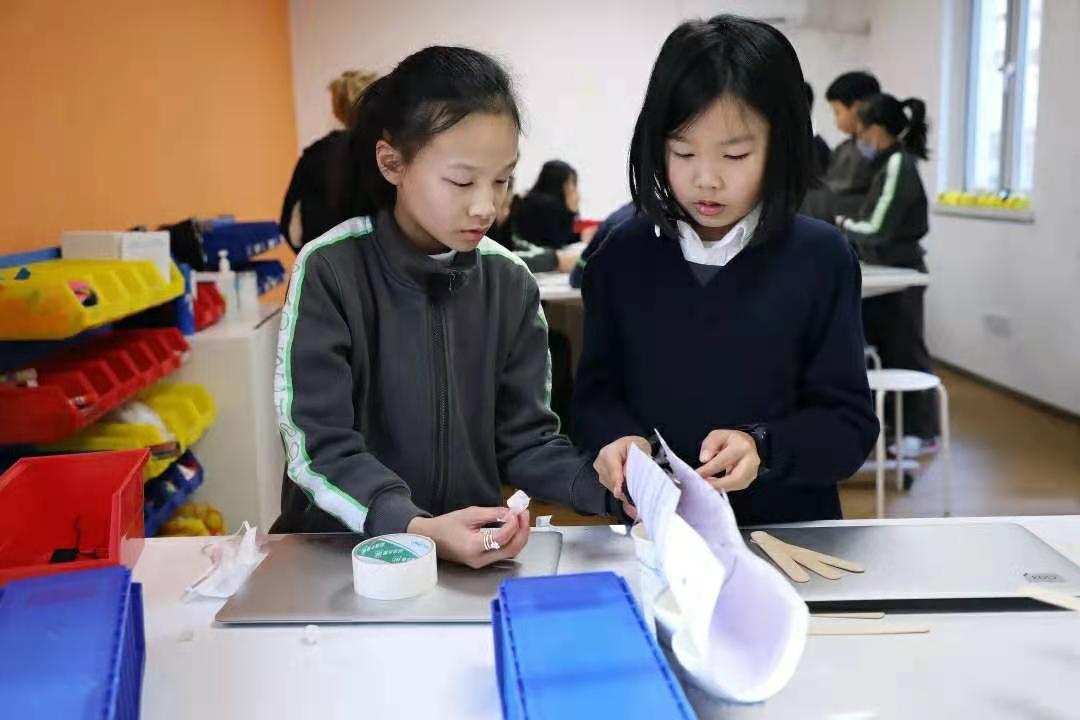
Wilson hopes as time passes, the students will naturally assign roles to themselves and actively collaborate and communicate effectively with one another, saying, “It is most interesting when they disagree, and they have to deal with that disagreement in a positive way to move forward.”
Y5C Lynn explains that she enjoyed having the opportunity to communicate and work with her classmates, though this is challenging when the team disagrees. For the bridge building project, to combat different ideas in the team and objectively select the best design, the group decided to make prototypes for each concept. They then tested each one’s stability and weight capacity, and ultimately choose to further develop the most successful design.
In the future, Wilson plans to continue developing 21st century skills such as communication and critical thinking, through classes that deliver ‘an innovative and engaging curriculum’. As times change, the students will embrace new technology and learn how to be good digital citizens. Importantly, activities such as the bridge building project will also help students understand how they can apply their knowledge in the future to improve society and their community.